


Blog
How to Apply Timber Floor Cleaner Without Streaks or Bubbles: A Pro Guide

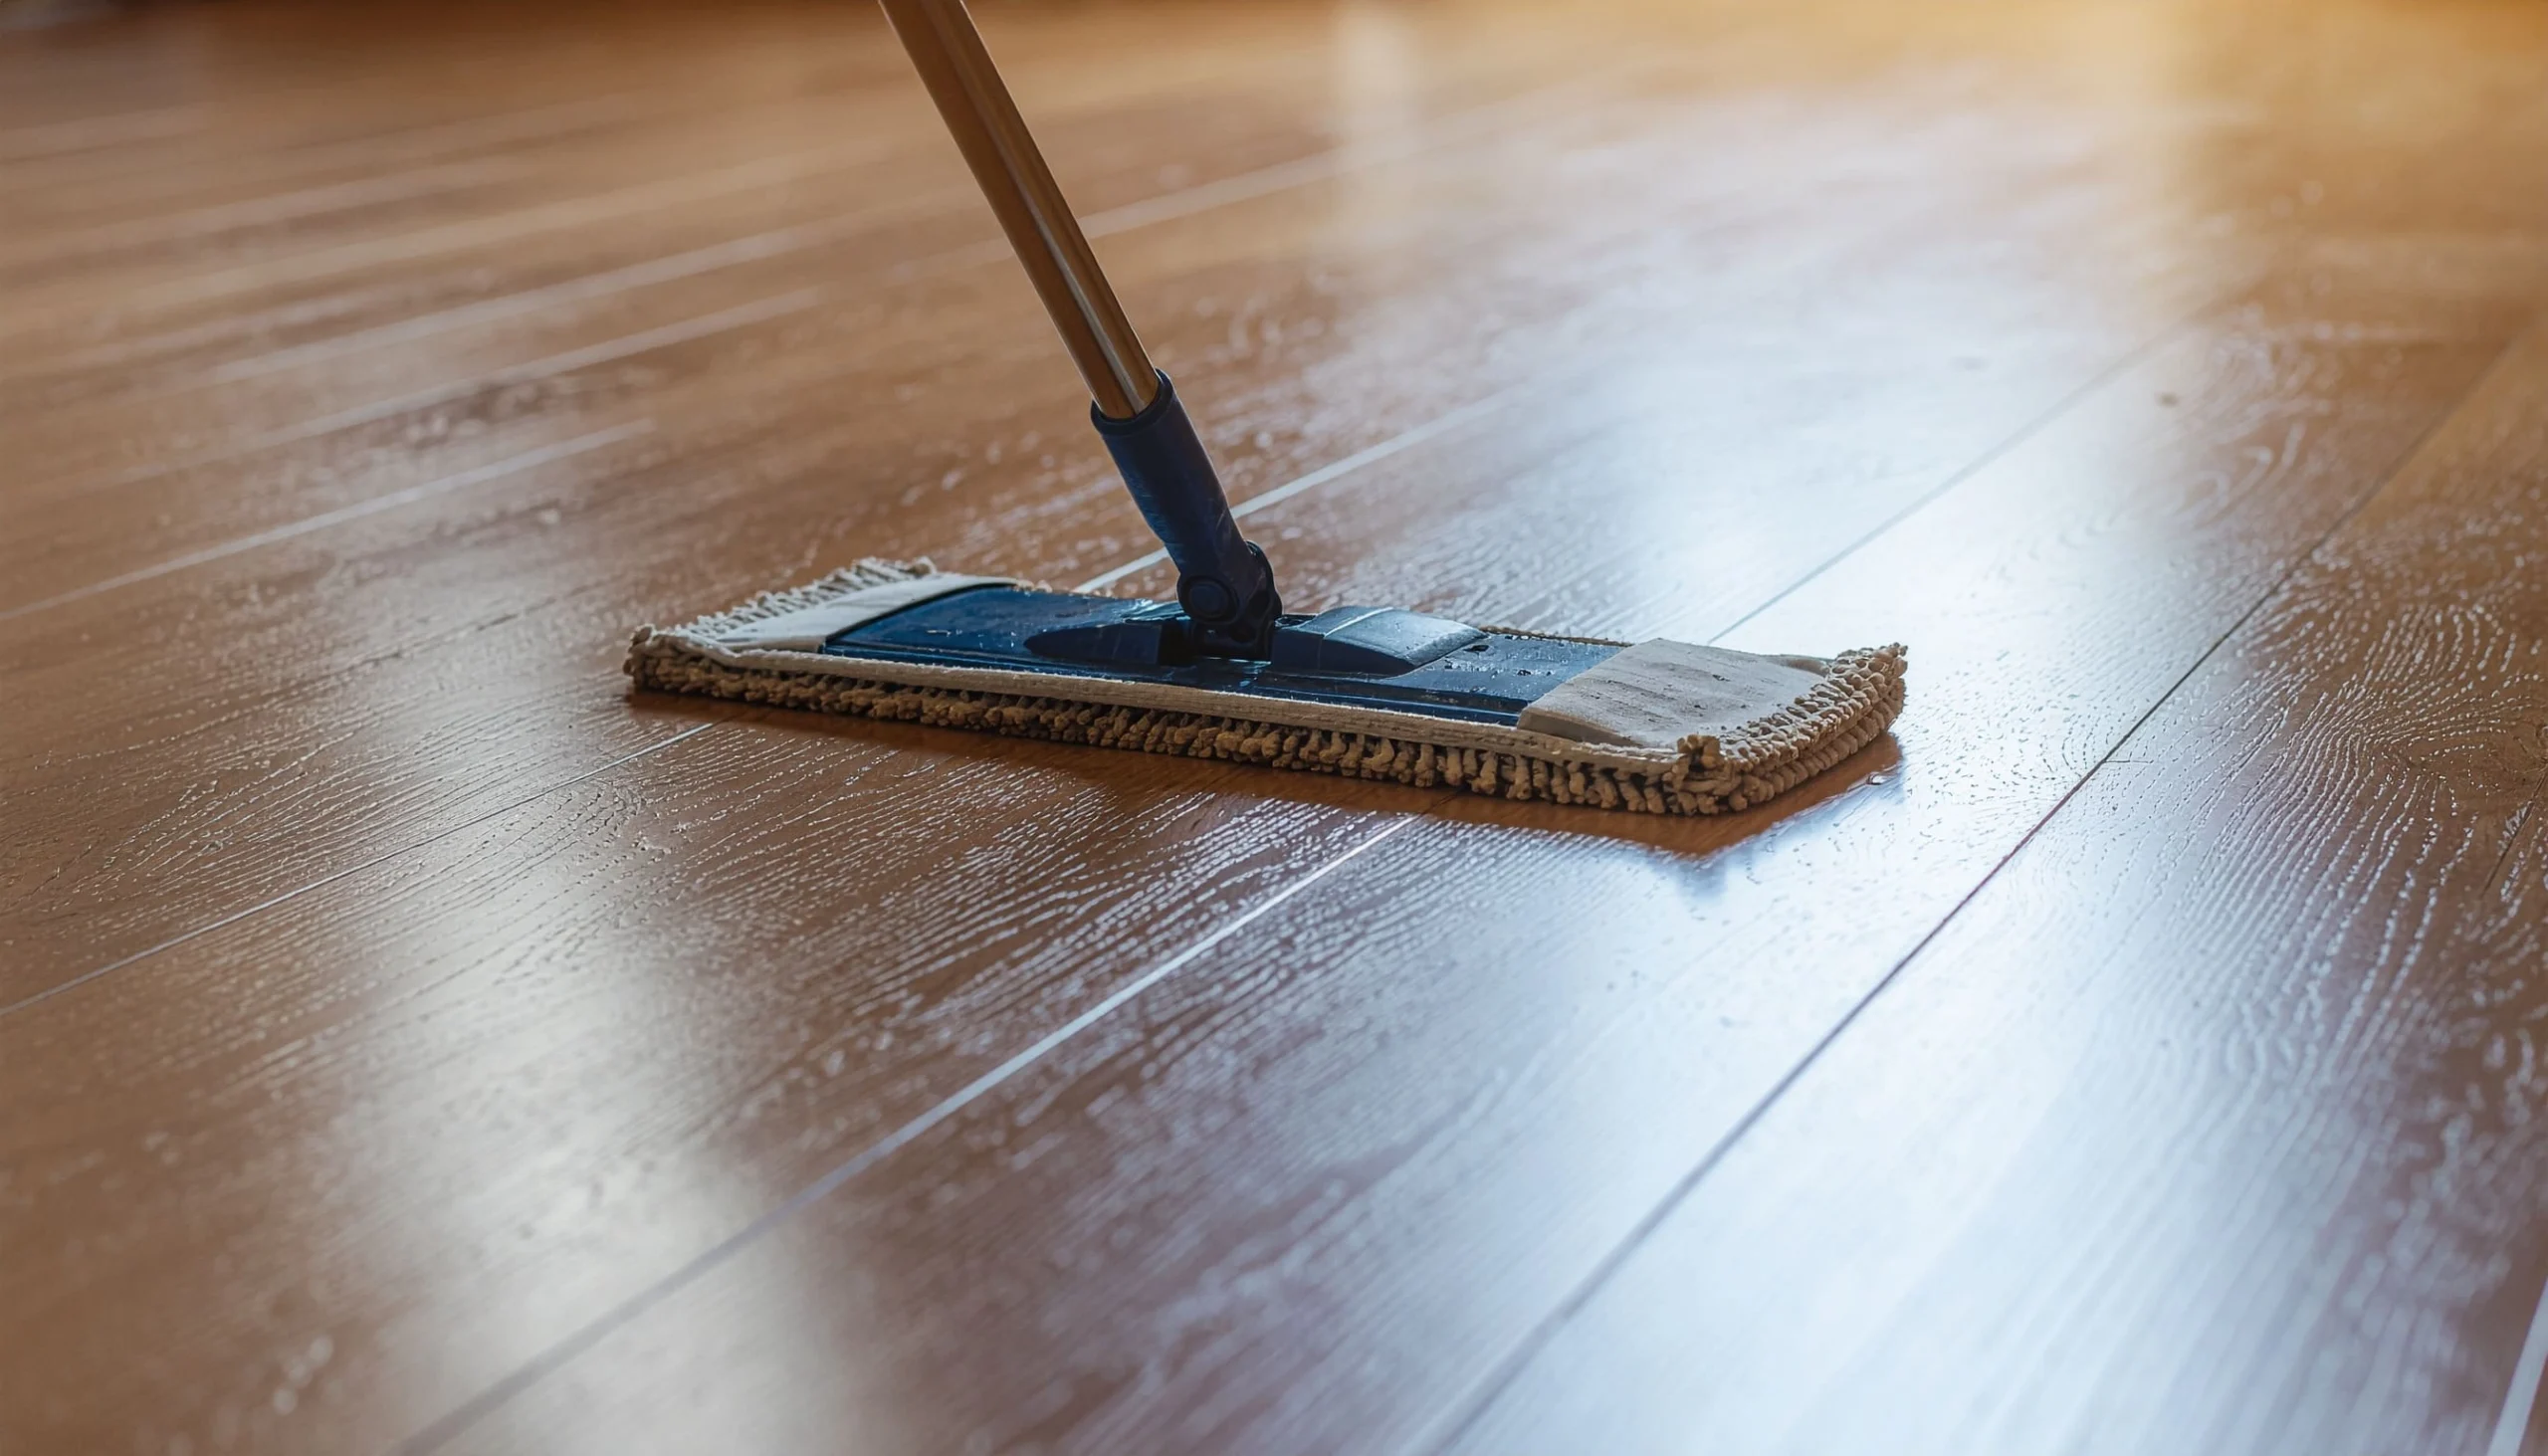
You have just mopped your timber floor expecting streak-free floor cleaning, but now it looks like a skating rink under harsh light; every pass of the mop immortalised in glossy streaks. Or worse, you are left with a foamy residue that dulls the grain and attracts dirt like a magnet. It is frustrating, especially when you have invested in quality commercial cleaning supplies perth and put in the effort.
The problem is not always the cleaner itself. More often, it is how you apply it. Professional cleaners know that proper timber floor cleaner application demands a specific technique, one that balances moisture control, product dilution, and tool selection. Get any of these wrong, and you will end up with streaks, bubbles, or a sticky film that compromises the finish.
This guide breaks down the exact process we use to achieve flawless results on timber floors, whether you are maintaining a commercial space or your home. You will learn why streaks and bubbles form, how to prevent them, and the step-by-step method that ensures a clean, natural-looking finish every time.
Why Timber Floor Cleaner Leaves Streaks and Bubbles
Before diving into technique, it is worth understanding what causes these issues. Streaks and bubbles are not random; they are symptoms of specific mistakes.
Streaks typically result from excess product, uneven application, or dirty tools. When you use too much cleaner or do not wring out your mop properly, you are essentially painting the floor with a thin layer of residue. As it dries, that residue catches light and appears as streaks. Dirty mop heads make this worse by redepositing grime and old cleaning solution across the surface.
Bubbles form when cleaners are over-diluted, agitated too vigorously, or contain surfactants that foam easily. Picture shaking a bottle of dish soap; those bubbles do not disappear quickly, and when you spread them across timber, they dry into a hazy film. Some cleaners are formulated to be low-foaming specifically to avoid this, but if you are using a product designed for hard surfaces or tiles, it might not be suitable for timber.
There is also the issue of moisture. Timber is porous, even when sealed. Too much water can seep into micro-cracks, lifting the finish or causing the wood to swell slightly. This creates uneven drying, which shows up as streaks or dull patches.
Choosing the Right Timber Floor Cleaner
Not all cleaners are created equal, and using the wrong one is the fastest way to create problems. Timber floors need a pH-neutral, low-foaming formula that will not strip the finish or leave residue.
Avoid multi-purpose cleaners or anything with ammonia, vinegar, or harsh alkaline agents. These can dull polyurethane finishes over time and dry out the wood. Instead, look for products specifically labelled for timber or sealed hardwood floors. We recommend commercial cleaning supplies that are biodegradable and designed for commercial use; they are formulated to clean effectively without leaving a film.
If you are working in a high-traffic area like a café or office, you will want something that dries fast and does not require rinsing. For residential use, a gentler formula works fine, but the principle remains the same: less is more. A little product goes a long way when applied correctly.
One analogy we use with clients: think of timber floor cleaner like cologne. A small amount smells great and does the job. Too much, and it is overpowering and unpleasant. The same applies here; overdoing it does not make the floor cleaner, it just leaves buildup. But how often do these simple mistakes compromise your expensive commercial cleaning equipment?
Essential Tools for Flawless Application
Your tools matter as much as the product you are using. Are you consistently matching the right tools to your maintenance protocols?
Upgrading Your Mop System
Microfibre mop heads trap dirt and absorb moisture far better than cotton or sponge mops. The Enduro Microfibre Mop Head is a solid choice because it is durable, machine-washable, and does not shed fibres that can scratch the finish.
A 16L mop bucket gives you enough capacity for larger areas without constant refilling. The wringer is critical because it lets you control moisture levels precisely.
Spot Cleaning Tools
For spot cleaning or small areas, a spray bottle lets you apply product directly without over-wetting the floor. Having a dry microfibre cloth or pad on hand is excellent for buffing away any remaining moisture or residue after mopping.
Avoid using old, worn-out mop heads. They hold onto dirt and old cleaning solution, which then gets smeared back onto your floor. If your mop smells musty or looks discoloured, replace it. We have seen facility managers struggle with streaks for weeks, only to solve the issue by swapping out a grimy mop head.
The Step-By-Step Process for Timber Floor Cleaner Application
Now let us get into the actual technique. This is the process we use for commercial timber floors, but it scales down perfectly for residential use.
Step 1: Sweep or Vacuum Thoroughly
Before you even think about applying cleaner, remove all loose dirt, dust, and debris. A Medusa Battery-Powered Sweeper works brilliantly for this; it is lightweight, cordless, and picks up fine dust that a broom might miss.
If you skip this step, you will just push dirt around with your mop, creating muddy streaks and scratching the finish. Pay extra attention to corners and edges where dust accumulates.
Step 2: Dilute the Cleaner Correctly
This is where most people go wrong. Read the product label and follow the dilution ratio exactly. If it says 50ml per 5 litres of water, do not eyeball it; measure it. Too much product creates residue, while too little will not clean effectively.
Use lukewarm water, not hot. Hot water can soften some finishes and cause streaking as it evaporates unevenly. Fill your bucket, add the timber floor cleaner, and mix gently. Do not agitate it to the point of creating foam.
Step 3: Wring Out the Mop Properly
Here is the golden rule: your mop should be damp, not wet. If you can squeeze water out of the mop head, it is too wet. Wring it out until it is just moist enough to glide smoothly across the floor.
Excess moisture is the enemy of timber. It causes streaks, slows drying, and can damage the wood over time. Think of it like wiping down a car; you would not drench the surface, you would use a damp cloth to avoid water spots.
Step 4: Mop in the Direction of the Grain
Always mop parallel to the timber grain, not against it. This minimises the risk of streaks and ensures the cleaner is distributed evenly. Use smooth, overlapping strokes. Do not scrub back and forth aggressively, as this creates bubbles and pushes dirt into crevices.
Work in sections, starting from the farthest corner and moving toward the exit. This prevents you from walking over freshly cleaned areas and leaving footprints.
Step 5: Buff Dry Immediately (If Needed)
For high-gloss finishes or areas where streaks are more visible, follow up with a dry microfibre cloth or pad. This removes any remaining moisture and buffs the surface to a natural shine. It is an extra step, but it makes a noticeable difference in high-traffic commercial spaces.
If you are using a quality, low-residue cleaner and your mop is properly wrung out, you might not need this step at all. The floor should dry clear on its own within a few minutes.
Common Mistakes That Cause Streaks and Bubbles
Even with the right commercial cleaning equipment and tools, errors during timber floor cleaner application happen. Here are the most common ones we see:
Using too much cleaner: More product does not mean a cleaner floor. It just means more residue. Stick to the recommended dilution ratio, and if in doubt, use less rather than more.
Dirty mop water: If your bucket water looks murky or smells off, it is time to change it. Continuing to mop with dirty water spreads grime and leaves streaks. For large areas, refresh the water halfway through.
Not rinsing the mop between uses: If you are switching between different cleaning tasks, such as mopping a kitchen floor then a timber hallway, rinse the mop thoroughly in between. Residue from other cleaners can cause streaking on timber.
Mopping in direct sunlight: If the floor is in direct sunlight, it will dry too quickly, causing uneven streaking. Close blinds or wait until the sun moves off the surface before mopping.
Using the wrong cleaner: We have had clients use tile cleaners or all-purpose degreasers on timber floors, only to end up with a sticky, streaky mess. Always use a product designed specifically for sealed timber.
How to Fix Streaks and Bubbles After They Appear
If you have already mopped and noticed streaks or bubbles, do not panic. You can fix it.
For streaks, go over the affected area again with a clean, damp mop using plain water. This lifts the residue without adding more product. Buff dry immediately with a microfibre cloth.
For bubbles or foamy residue, rinse the floor with clean water and a well-wrung mop. You might need to do this twice to remove all traces of foam. Once rinsed, dry the floor thoroughly to prevent water damage.
If streaks persist after multiple attempts, the issue might be buildup from previous cleanings. In this case, you will need a specialised timber floor restorer or a light buffing with an orbital machine to strip the old residue and start fresh.
Maintaining Streak-Free Timber Floors Long-Term
Once you have mastered the technique, maintaining that standard of streak-free floor cleaning is straightforward. Here is what we recommend:
Mop regularly but lightly: High-traffic areas might need daily damp mopping, while residential floors can go a week or more between cleans. Frequency depends on foot traffic and dirt levels.
Use dust control fringe mops between wet cleans: These trap dust and dirt without introducing moisture, keeping the floor looking fresh longer.
Spot-clean spills immediately: Do not let liquids sit on timber. Wipe them up straight away with a damp cloth to prevent staining or water damage.
Rotate your mop heads: Keep at least two mop heads in rotation so you always have a clean one on hand. Wash them after every few uses in hot water without fabric softener, which can leave residue.
When to Use Professional-Grade Equipment
For extensive timber floors or commercial settings, hand-mopping is not always practical. This is where professional equipment makes sense for operators sourcing their commercial cleaning supplies perth.
A machine like the Polystar Orbital Floor Scrubber uses multi-directional force to clean and polish timber without over-wetting the surface. It is faster, more consistent, and reduces the risk of human error. We have seen facility managers cut their cleaning time in half while achieving better results simply by switching to the right equipment.
If you are managing multiple properties or a large venue, the upfront investment pays off quickly in labour savings and finish longevity. Plus, machines like this are versatile; they work on tiles, vinyl, and other hard surfaces, not just timber.
Final Thoughts on Streak-Free Timber Floor Cleaning
Achieving streak-free floor cleaning without bubbles is not about expensive products or complicated techniques. It is about understanding the material, using the right tools, and applying cleaner with precision. Control your moisture, measure your product, and work methodically; that is 90% of the battle.
We have worked with countless businesses and homeowners who thought their floors were the problem, only to discover it was their method. Once they adjusted their approach, the results spoke for themselves: clear, natural-looking timber that highlights the grain instead of hiding it under streaks and residue.
If you are still struggling after following these steps, the issue might be product buildup or a damaged finish. In that case, reach out for advice on restorative cleaning or refinishing options. Sometimes a professional assessment saves you time and frustration.
Timber floors are an investment worth protecting. With the right technique and Weskleen Supplies, you can keep them looking their best for years without the hassle of constant re-cleaning or refinishing. If you need help finding the right setup for your facility, 1800 728 926 is the number to call for local expert advice.